Writing Your First AWX Test from Scratch with Gauge and Taiko in Visual Studio Code

Taiko repository Taiko API Here is a video tutorial Let’s revise the tutorial to specifically focus on using Visual Studio Code with the Gauge, ESLint, and Babel JavaScript extensions for running and managing the test. This adjustment will align the tutorial with your video presentation that demonstrates executing the setup and tests directly from Visual Studio Code. ...

May 12, 2024 · 4 min · 664 words · sysadmin

Exploring the Taiko API for Browser Automated Tests

Taiko repository Taiko API Here is a video tutorial Welcome to this tutorial where we will delve into the powerful capabilities of the Taiko API. Taiko is a Node.js library designed to automate web browsers with a clear and concise API. In this session, we will use Taiko’s interactive Read-Eval-Print Loop (REPL) to explore and demonstrate how to use different API functions effectively. ...

May 11, 2024 · 3 min · 441 words · sysadmin

Set Up and Run Automated Browser Tests with Taiko and Gauge in Visual Studio Code

Taiko repository: Taiko Here is a video tutorial To set up Taiko with Gauge for browser automation testing, I have outlined a comprehensive process that includes installing the necessary tools, setting up the environment, and initializing a sample project. Here’s a step-by-step guide that details each step in a more structured format, ideal for clarity: ...

May 10, 2024 · 4 min · 739 words · sysadmin

How to install Arch on an old laptop using one command

Exercises to complete: Download Arch iso Use dd to copy content of the iso to a USB stick Plug the USB drive into USB port in old laptop Change boot order in BIOS Run Arch from USB stick Execute command to install Arch Credits 1. Download Arch iso Download iso from here Arch Linux - Downloads ...

April 26, 2024 · 1 min · 142 words · sysadmin

Setting up and customizing a periodic MQTT message sender using Node-RED in Home Assistant

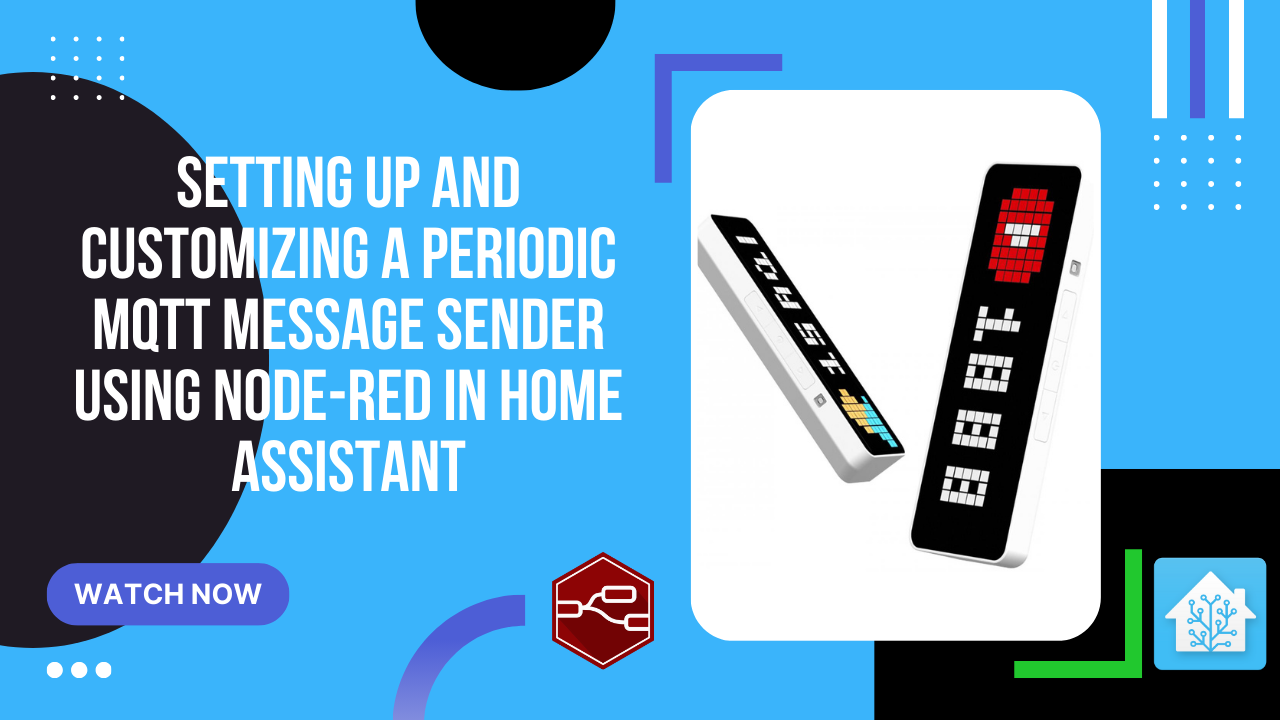
Step 1: Accessing Node-RED Open your Home Assistant instance. Navigate to the Node-RED addon. Click on the addon to open the Node-RED editor. Step 2: Importing the Flow In the Node-RED editor, click on the menu icon in the top-right corner. Select “Import” from the dropdown menu. Copy the provided flow JSON. Paste the JSON into the import dialog box. Click “Import” to import the flow. 1 2 3 4 5 6 7 8 9 10 11 12 13 14 15 16 17 18 19 20 21 22 23 24 25 26 27 28 29 30 31 32 33 34 35 36 37 38 39 40 41 42 43 44 45 46 47 48 49 50 51 52 53 54 55 56 57 58 59 60 61 62 63 64 65 66 67 68 69 70 71 72 73 74 75 76 77 78 79 80 81 82 83 84 85 86 87 88 89 90 91 92 93 94 95 96 97 98 99 100 101 102 103 104 105 106 107 108 109 110 111 112 113 114 115 116 117 118 119 120 121 122 123 124 125 126 127 128 129 130 131 132 133 134 [ { "id": "a96270e425179e4a", "type": "tab", "label": "Subs", "disabled": false, "info": "", "env": [] }, { "id": "b29251f338c92d7b", "type": "group", "z": "a96270e425179e4a", "style": { "stroke": "#3d3e46", "stroke-opacity": "1", "fill": "#21222c", "fill-opacity": "0.5", "label": true, "label-position": "nw", "color": "#f8f8f2" }, "nodes": [ "inject1", "function1", "mqtt1" ], "x": 14, "y": 19, "w": 812, "h": 82 }, { "id": "inject1", "type": "inject", "z": "a96270e425179e4a", "g": "b29251f338c92d7b", "name": "Send periodically", "props": [ { "p": "payload" }, { "p": "topic", "vt": "str" } ], "repeat": "600", "crontab": "", "once": false, "onceDelay": 0.1, "topic": "", "payload": "Like and subscribe", "payloadType": "str", "x": 150, "y": 60, "wires": [ [ "function1" ] ] }, { "id": "function1", "type": "function", "z": "a96270e425179e4a", "g": "b29251f338c92d7b", "name": "Prepare message with icon", "func": "// Text to send\nvar textToSend = 'Like and subscribe';\n\n// Creating payload object according to the example\nmsg.payload = {\n \"text\": textToSend,\n \"icon\": \"10516\", // Icon name, change as needed\n \"duration\": 10 // Display duration, you can adjust\n};\n\nreturn msg;", "outputs": 1, "timeout": "", "noerr": 0, "initialize": "", "finalize": "", "libs": [], "x": 400, "y": 60, "wires": [ [ "mqtt1" ] ] }, { "id": "mqtt1", "type": "mqtt out", "z": "a96270e425179e4a", "g": "b29251f338c92d7b", "name": "Publish Text to MQTT", "topic": "awtrix_b6d76c/custom/subs", "qos": "2", "retain": "false", "respTopic": "", "contentType": "", "userProps": "", "correl": "", "expiry": "", "broker": "346df2a95aac5785", "x": 680, "y": 60, "wires": [] }, { "id": "346df2a95aac5785", "type": "mqtt-broker", "name": "MQTT HA Broker", "broker": "10.10.0.100", "port": "1883", "clientid": "", "autoConnect": true, "usetls": false, "protocolVersion": "4", "keepalive": "60", "cleansession": true, "autoUnsubscribe": true, "birthTopic": "awtrix_b6d76c", "birthQos": "2", "birthRetain": "true", "birthPayload": "", "birthMsg": {}, "closeTopic": "awtrix_b6d76c", "closeQos": "2", "closeRetain": "true", "closePayload": "", "closeMsg": {}, "willTopic": "awtrix_b6d76c", "willQos": "2", "willRetain": "true", "willPayload": "", "willMsg": {}, "userProps": "", "sessionExpiry": "" } ] Step 3: Understanding the Flow This flow is designed to periodically send a message to an MQTT topic. Let’s break down each node: ...

March 24, 2024 · 4 min · 767 words · sysadmin

A simple guide to the Home Assistant weather forecast displayed on Ulanzi TC001

Here is a structured tutorial: Part 1: Setting up Home Assistant Automation for Weather Data Trigger Setup: In Home Assistant, create a time-based automation to execute every 10 minutes. Action Configuration: Utilize the mqtt.publish service to send the weather data. Format the payload with necessary weather attributes (temperature, condition, etc.). 1 2 3 4 5 6 { "text": "Temp {{ state_attr('weather.home', 'temperature') }}°C, Humidity {{ state_attr('weather.home', 'humidity') }}%, Wind {{ state_attr('weather.home', 'wind_speed') }}km/h, Pressure {{ state_attr('weather.home', 'pressure') }}hPa", "icon": "53288", "rainbow": false, "duration": 30 } MQTT Topic: Define a unique MQTT topic for this automation. pattern: prefix/custom/name_of_the_panel Part 2: Creating a Node-RED Flow for Ulanzi TC001 Display ...

March 22, 2024 · 5 min · 986 words · sysadmin

Installing, Configuring, and Removing Argo CD with Bash and Ansible

Gitlab Integration with AWX - Automating Ansible Playbook Execution In the below videos, I explain how to install, configure and remove Argo CD with Bash and Ansible. ...

March 19, 2024 · 12 min · 2447 words · sysadmin

Integrating FQDN with AWX and GitLab for enhanced DNS management in Kubernetes cluster

Integrating FQDN with AWX and GitLab In this video, I explain how to implement FQDN in AWX and GitLab. Below you will find a tutorial divided into two important parts. The first concerns Fully Qualified Domain Names, or FQDNs, and the second will show how to modify the configuration of CoreDNS in Kubernetes to forward traffic to an external DNS server’s IP address. ...

March 18, 2024 · 18 min · 3780 words · sysadmin

Gitlab Integration with AWX - Automating Ansible Playbook Execution

Gitlab Integration with AWX - Automating Ansible Playbook Execution In this video, I explain how to configure the AWX with GitLab. GitLab installation If you do not have GitLab installed I recommend to watch and read this tutorial: GitLab installation and configuration Starting work with AWX, the open-source version of Ansible Tower, requires several steps to configure and launch your first job. Below is a detailed step-by-step guide to help you achieve your goal: ...

March 7, 2024 · 5 min · 1027 words · sysadmin

From Zero to Hero - Step-by-Step AWX Configuration and Management

From Zero to Hero: Step-by-Step AWX Configuration and Management In this video, I explain how to configure the AWX. Starting work with AWX, the open-source version of Ansible Tower, requires several steps to configure and launch your first job. Here is a detailed step-by-step guide to help you achieve your goal: ...

February 29, 2024 · 5 min · 979 words · sysadmin